The Step-by-Step Process of Replacing an Old Roof
Your roof is one of the most critical components of your home, providing protection from the elements and contributing to your property's overall value. Over time, however, even the best roofs deteriorate due to weather damage, wear and tear, or poor installation. Ignoring a failing roof can lead to costly repairs, water damage, and even structural issues. That’s why timely replacement is essential to maintain the safety and comfort of your home. When it’s time to replace an old roof, knowing the process can help you feel confident about the investment and ensure the job is done right. In this blog, we’ll walk you through the step-by-step process of replacing an old roof, helping you prepare for a smooth and successful roofing project.
Step 1: Inspection and Assessment
The first step in replacing an old roof is to have a thorough inspection conducted by a professional roofing contractor. This evaluation helps identify damaged shingles, underlying wood rot, or structural issues. A detailed assessment will determine the scope of work, materials needed, and estimated costs. It’s essential to choose a trusted roofing company to ensure an accurate inspection.
Step 2: Choosing Materials
Once the inspection is complete, the next step is selecting the right roofing materials. Options range from traditional asphalt shingles to metal, tile, or slate roofing. Your choice will depend on budget, style preferences, and durability requirements. A good roofing contractor will guide you through the pros and cons of each option.
Step 3: Preparing the Work Area
Before installation begins, the crew prepares the site to protect your landscaping, gutters, and exterior walls from debris. Safety precautions are put in place, and materials are staged for easy access. This preparation ensures an efficient workflow and minimizes disruption.
Step 4: Removing the Old Roof
The removal of the existing roof is a critical step. The crew strips away old shingles, underlayment, and any damaged decking. Proper disposal of roofing debris is essential for environmental and neighborhood considerations. This step exposes the roof’s base and reveals any hidden damage.
Step 5: Repairs and Underlayment Installation
After removal, any damaged decking or structural components are repaired or replaced. Next, an underlayment layer, usually roofing felt or synthetic material, is installed to provide additional waterproofing and protection against leaks.
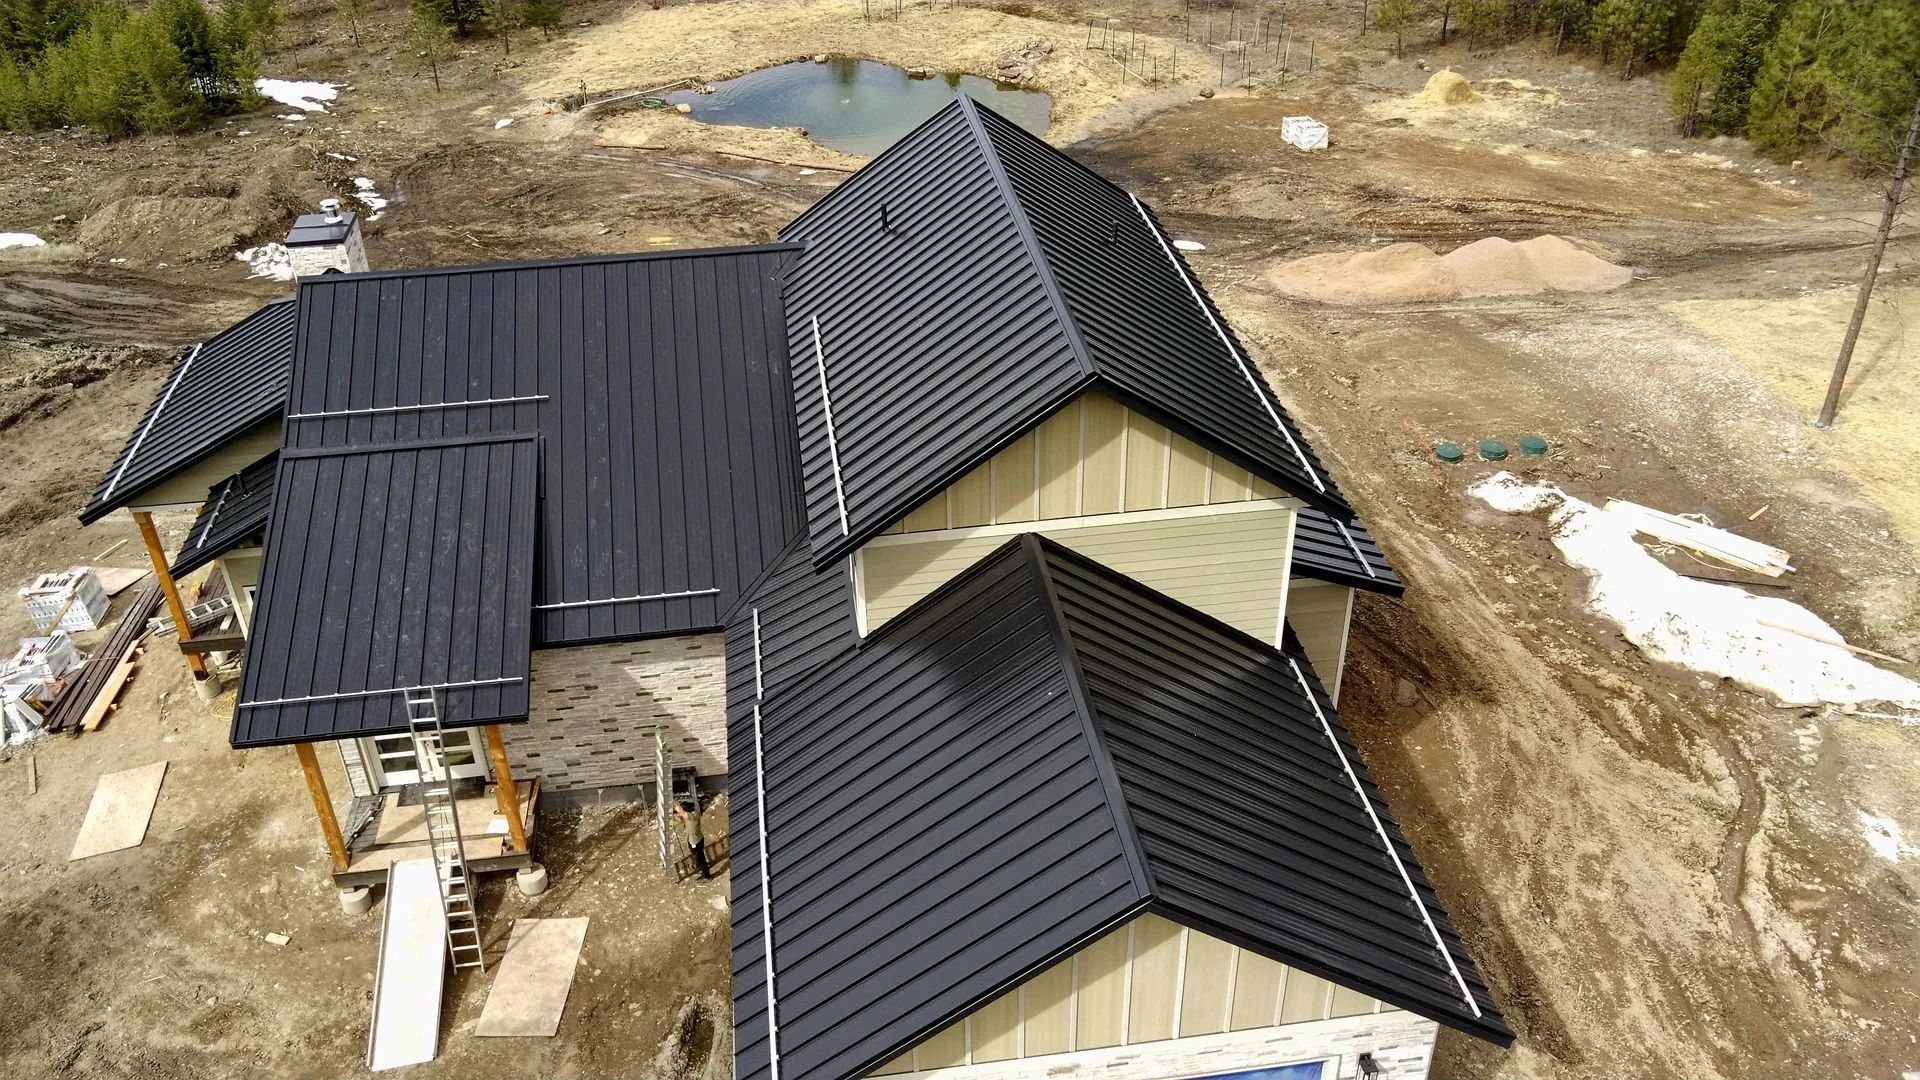
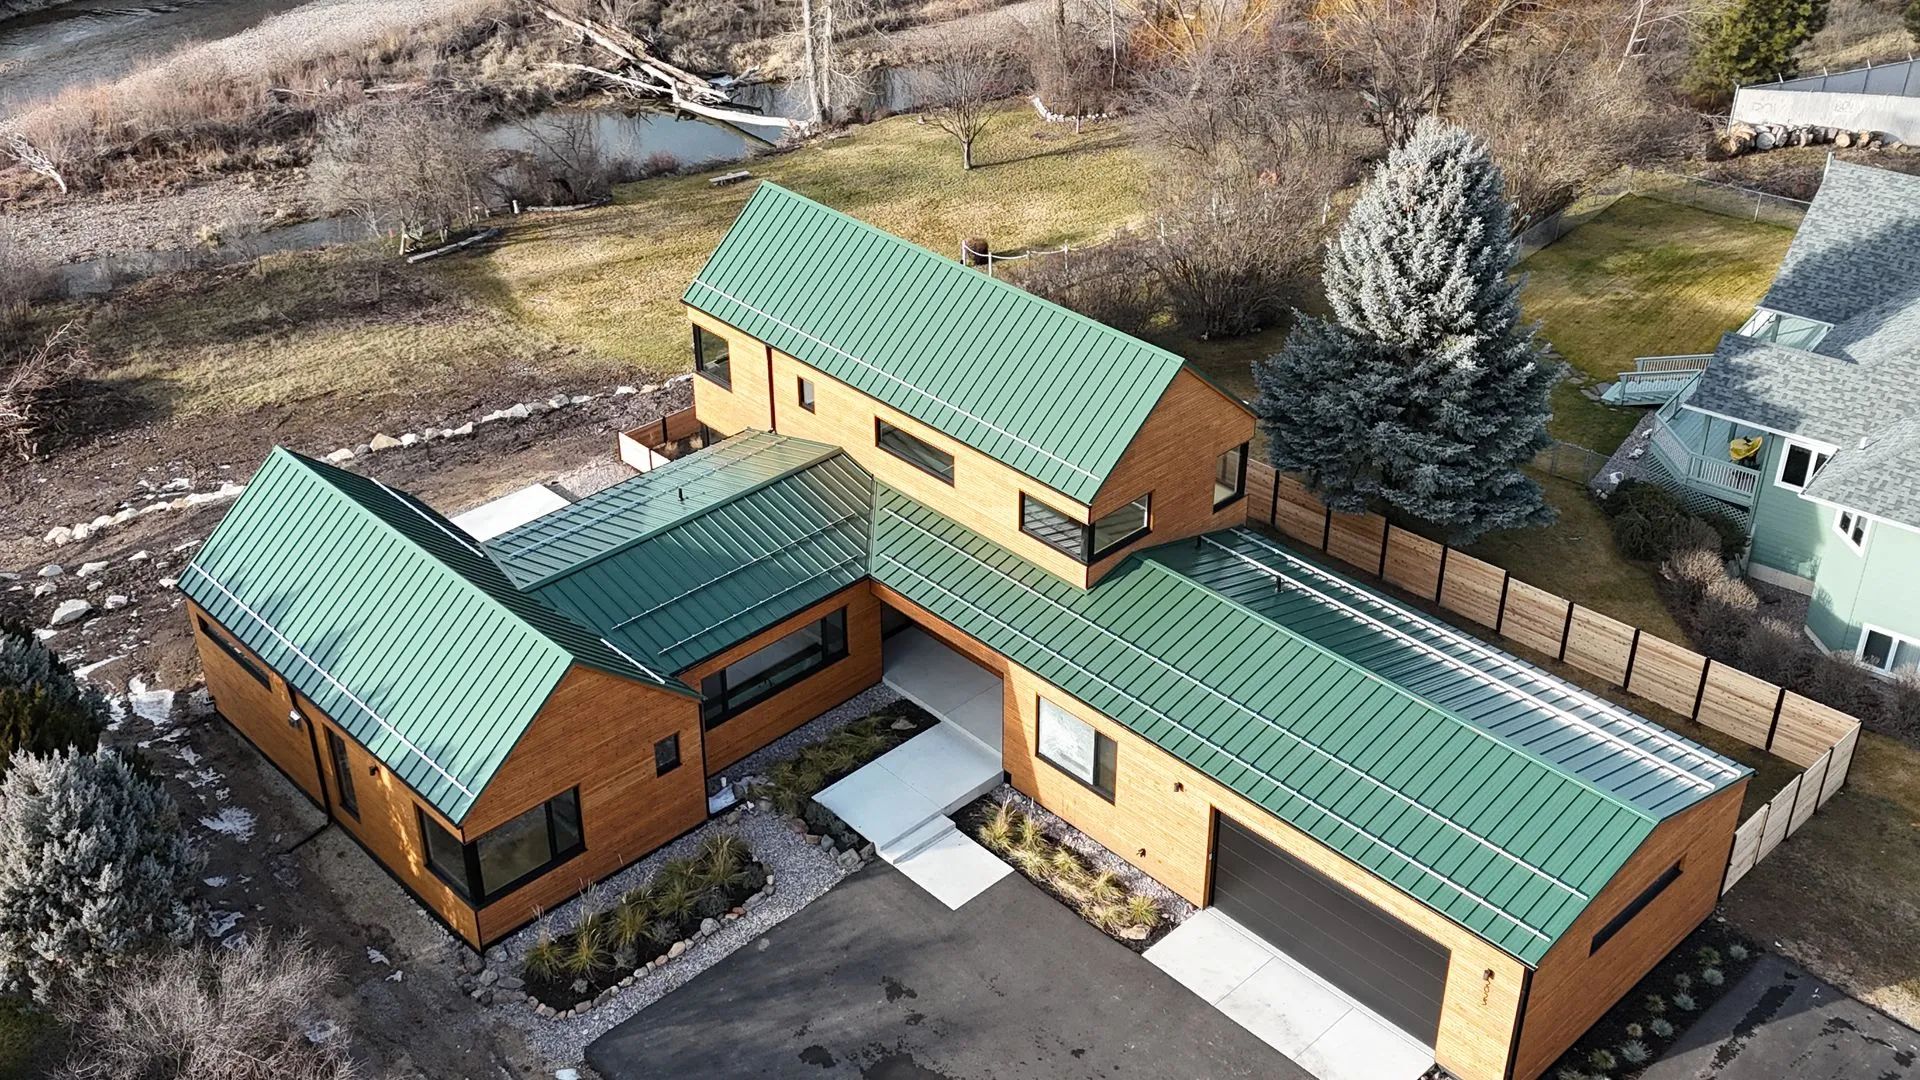
Step 6: Installing the New Roof
With the base ready, the new roofing materials are installed starting from the bottom edge and working upwards. This process ensures proper overlap and drainage. Attention to detail during this stage is vital for longevity and weather resistance.
Step 7: Finishing Touches and Cleanup
Once the roofing materials are in place, the team installs flashing, vents, and ridge caps to complete the roof system. A thorough cleanup follows to remove nails, debris, and leftover materials. A final inspection confirms the job meets quality standards.
Step 8: Final Inspection and Warranty
Most reputable contractors will perform a final walkthrough with the homeowner to ensure satisfaction. Additionally, many offer warranties covering workmanship and materials, providing peace of mind for years to come.
Your Trusted Partner in Roofing Solutions
Replacing an old roof is a major home improvement project that requires expertise, quality materials, and reliable service. With over 10
years of experience, Havoc Roofing LLC
in Dallas, TX, specializes in
professional roof replacements that stand the test of time. Our skilled team guides you through every step — from inspection to final cleanup — ensuring your roof not only protects your home but enhances its curb appeal. Choose us for dependable craftsmanship and exceptional customer care. Contact us today to schedule your roof assessment and take the first step toward a safer, more beautiful home.