What to Expect During a Professional Roof Installation
Getting a new roof isn’t something most homeowners do often, so it’s natural to feel uncertain about the process. Knowing what to expect during a
professional roof installation can help you feel prepared and confident when the big day arrives. Here’s a clear look at each stage of the process so there are no surprises along the way.
Initial Inspection and Quote
Before anything is installed, a roofing contractor will inspect your current roof. They’ll look for signs of wear, damage, leaks, and ventilation issues. Based on this inspection, they’ll recommend the best solution—whether it’s a complete replacement or partial repair—and provide a written estimate outlining materials, labor, and timelines.
Material Selection and Scheduling
Once you approve the estimate, you’ll work with the contractor to choose roofing materials. Asphalt shingles are a common choice, but you may also consider metal, tile, or synthetic options depending on your budget and home design. After materials are ordered, the crew will schedule a date for installation, often accounting for weather forecasts to avoid delays.
Property Preparation
When installation day arrives, the crew will start by prepping your property. Tarps or plywood sheets are placed to protect landscaping, driveways, and patios. They’ll also move or cover any outdoor furniture or fixtures near the home. Inside, it’s a good idea to remove items from walls and shelves since roofing work can cause vibrations.
Tear-Off of Old Roofing
If it’s a roof replacement, the first major step is tearing off the old roof. Shingles, nails, underlayment, and flashing are removed down to the wooden decking. This step can be noisy and messy, but a professional team works quickly and safely. If any decking is damaged or rotted, it will be replaced before moving on.
Deck Inspection and Repairs
With the old materials removed, the roof deck is inspected for structural integrity. Any areas with water damage or weakened wood are repaired. This ensures a solid base for the new roofing system and helps prevent problems in the future.
Installing Underlayment and Flashing
Next, the crew installs a protective underlayment across the deck to create a water-resistant barrier. Flashing is added in vulnerable areas—around chimneys, vents, valleys, and skylights—to help divert water away from seams. These layers are vital to preventing future leaks.
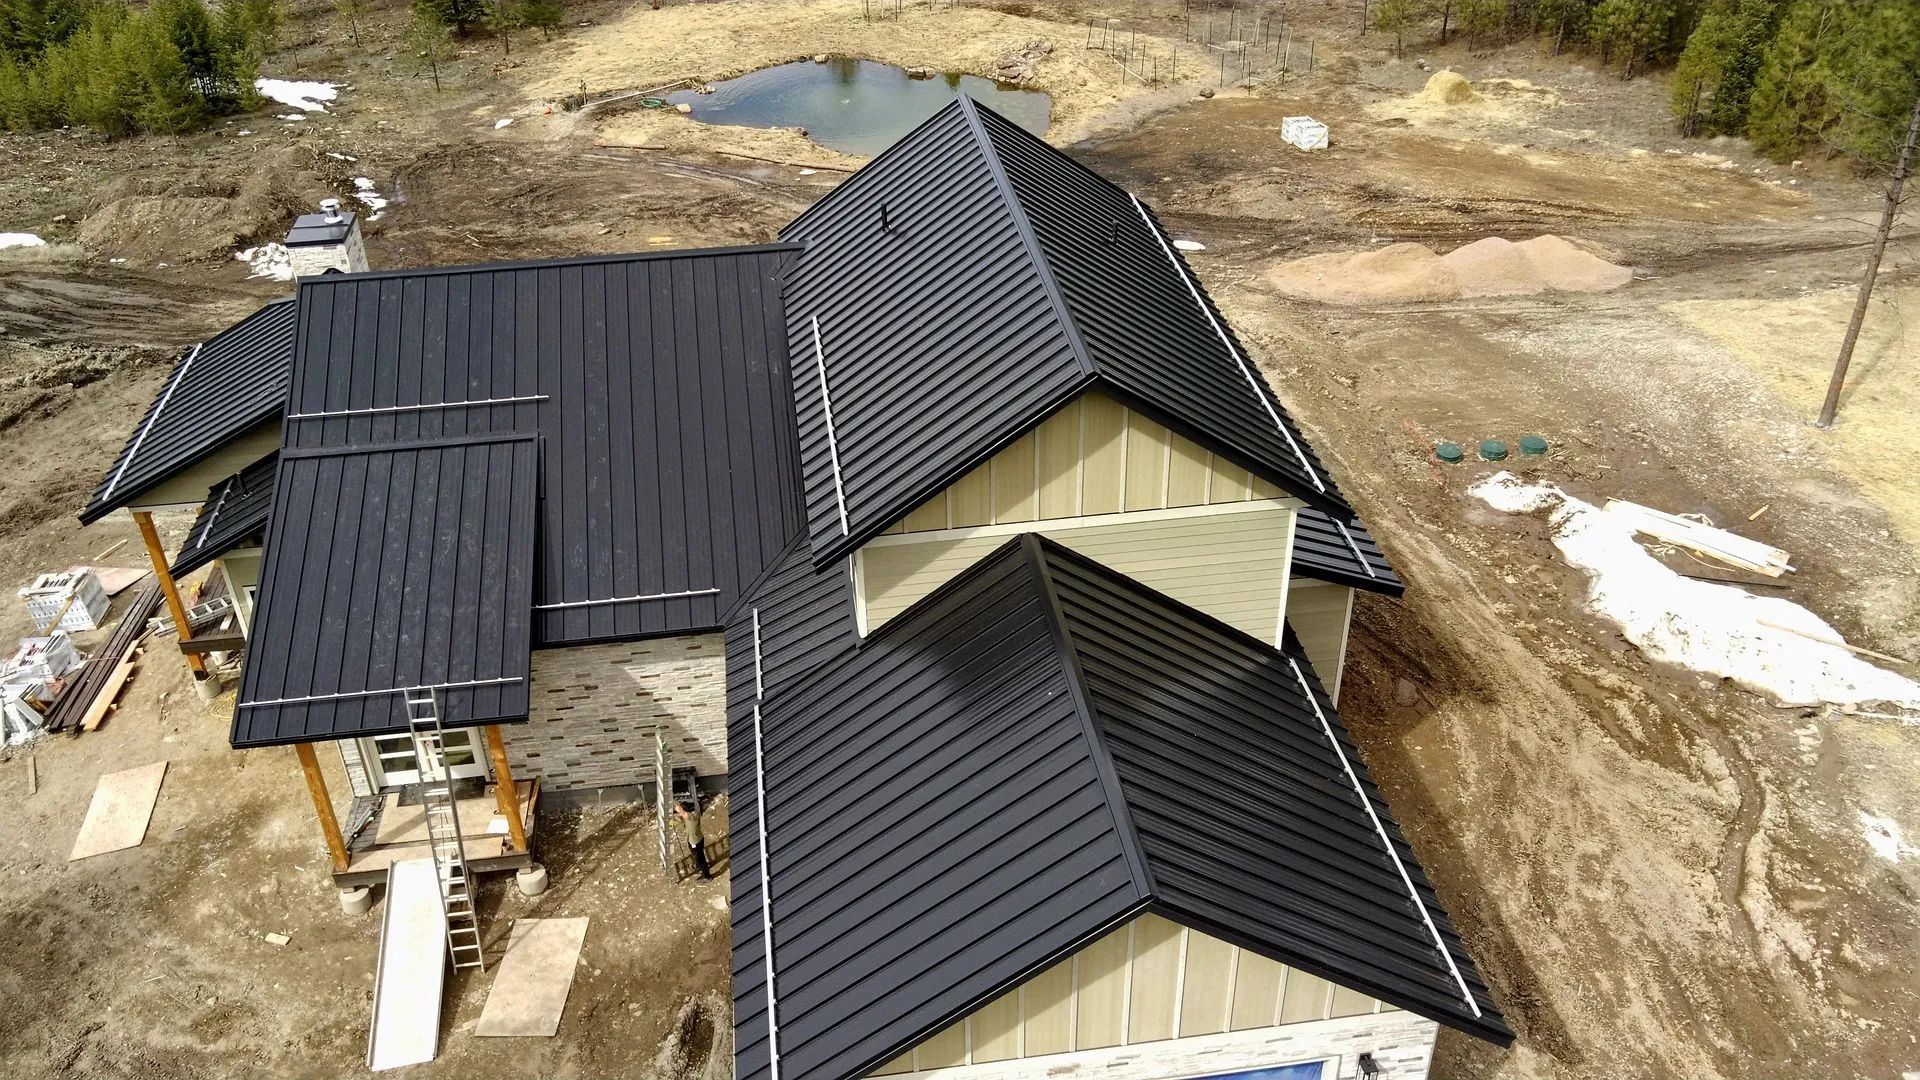
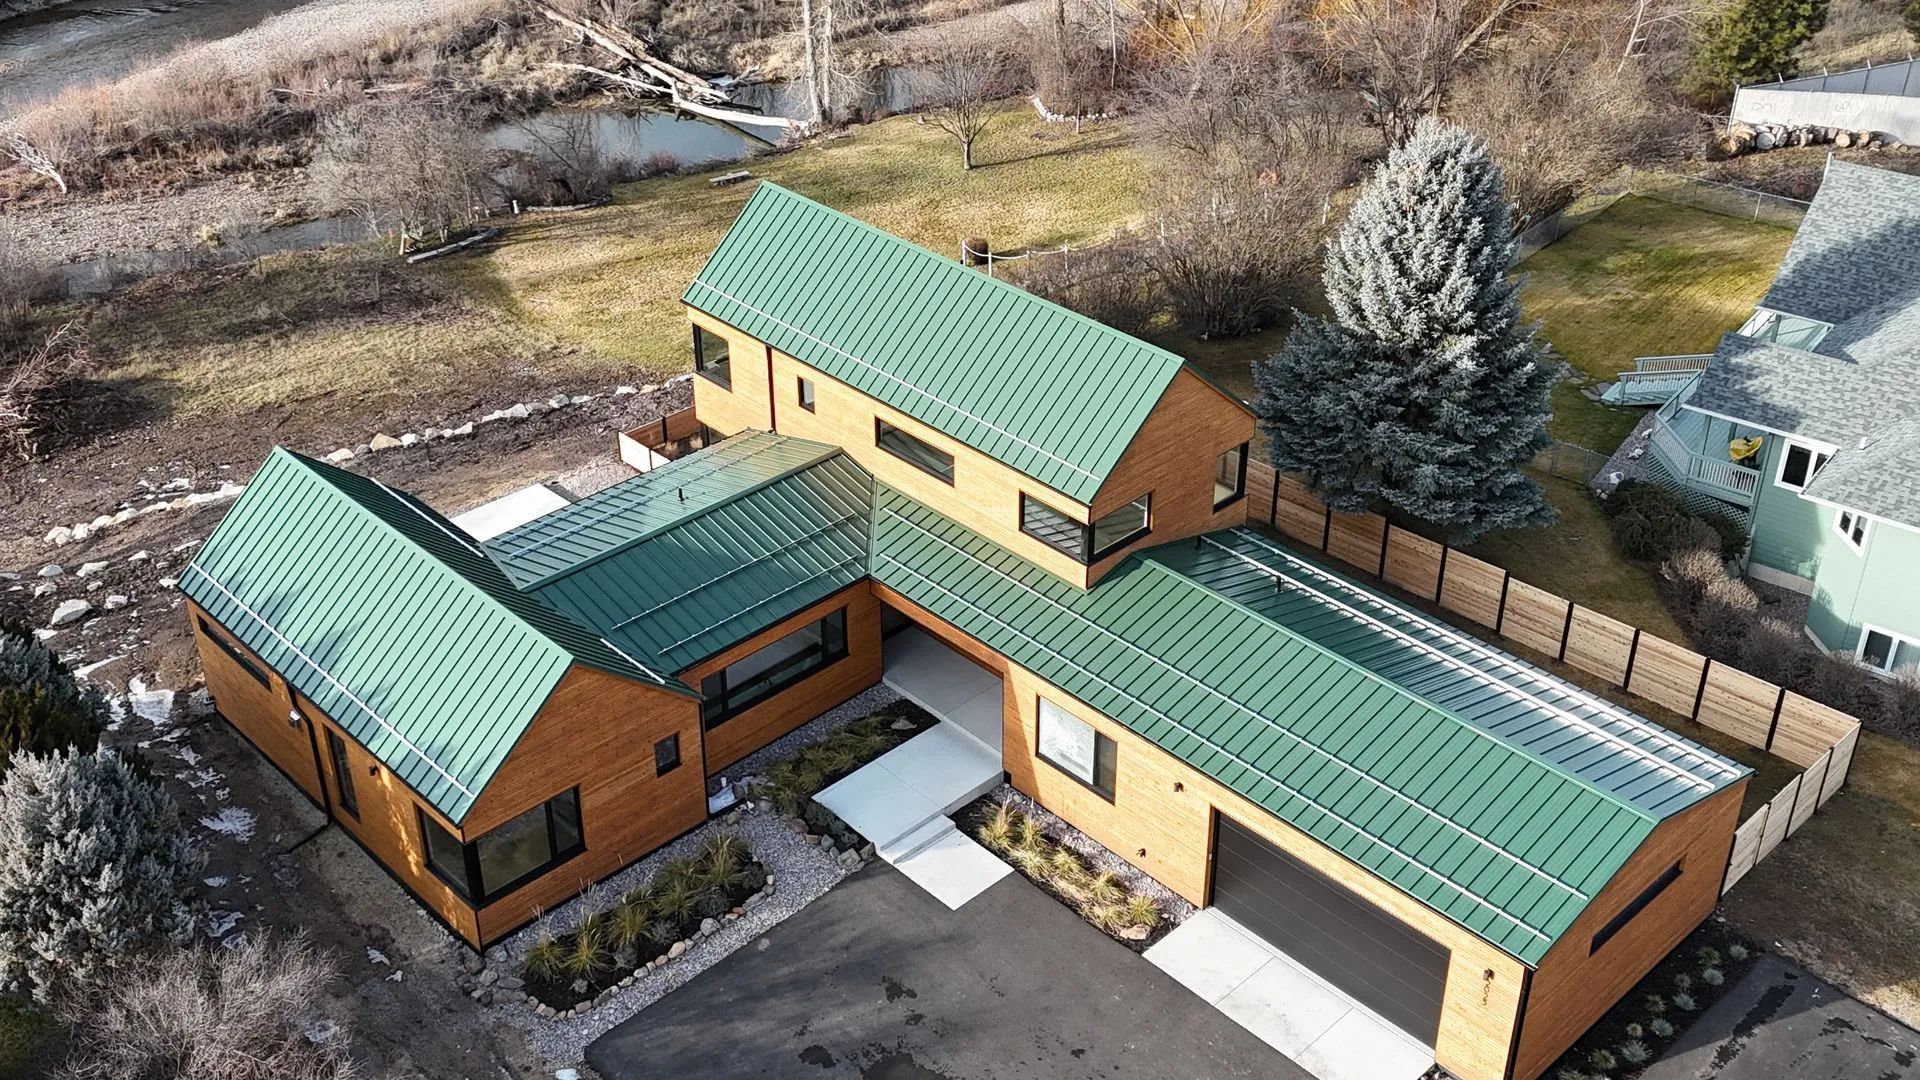
New Roofing Installation
Shingles or panels are installed starting at the bottom edge and working upward. Each row overlaps the previous one to guide water off the roof efficiently. During this stage, proper alignment, spacing, and fastening techniques are used to make sure the roof is both durable and visually appealing.
Ventilation and Final Touches
Ridge vents or attic fans may be added to maintain airflow, reduce moisture buildup, and extend the life of your new roof. If gutters or downspouts are being replaced, they’ll be installed now as well. The crew ensures all components are sealed, secure, and functioning properly.
Cleanup and Final Inspection
Once the roofing is complete, the crew cleans up the entire work area. Nails and debris are collected using magnetic tools. A final inspection is performed to confirm the roof meets manufacturer and industry standards. The contractor will walk you through the finished work and answer any questions.
When done professionally, roof installation is a smooth and efficient process. Havoc Roofing LLC, based in Dallas, TX, brings over 34 years of combined experience to every job. If you're planning a new roof and want it done right the first time, contact us today to schedule your consultation.